
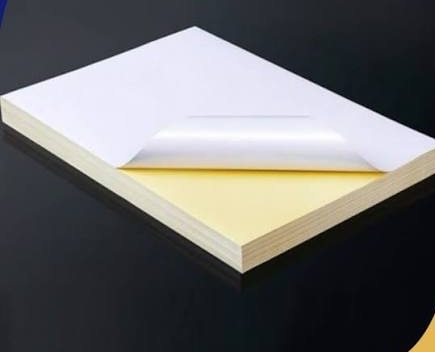
Sticker paper produces clean, professional labels when the printer, file, and handling process work together. Small mistakes create smudged ink, crooked designs, weak adhesion, or paper jams before the job is complete. The printer type, media setting, artwork, and drying time all affect the final sheet.
However, a short preparation routine prevents wasted materials and unnecessary reprints. The four mistakes below explain what goes wrong and how to correct each one before printing.
1. Using the Wrong Printer Setting
Sticker projects often begin with suitable material, but the print process matters just as much. A sheet made for an inkjet printer handles liquid ink differently from stock intended for laser toner. Before selecting label sticker paper, check the printer type, surface finish, adhesive, and intended application. These details help prevent smearing, curling, fading, and peeling.
Most printers include media settings such as plain paper, labels, cardstock, or glossy paper. The selected setting controls ink coverage, heat, feed speed, or drying behavior. Coated surfaces are frequently undercoated when using the plain-paper setting, and feeding may be slowed or even heated up when using the heavy-stock setting, neither of which are ideal.
The printer manual and package instructions should guide the selection. A test sheet then confirms whether the setting produces sharp text, even color, and accurate alignment before finished stock enters the tray.
2. Printing On The Wrong Side
Sticker sheets usually have one printable face and one backing face. Loading the sheet backward puts ink on the liner, where it smears or fails to dry. Some printers identify the feed direction with an arrow, while others print on the side facing upward.
A small corner mark helps identify the correct side. Draw a pencil mark on ordinary paper, load it as a test sheet, and print a small symbol. The result shows how the printer feeds the page without wasting sticker stock.
The printable surface also needs inspection. A glossy coating, matte coating, or uncoated face changes how ink settles. Damp fingers can leave oils on the surface and create uneven coverage, so sheets should remain flat and clean before loading.
3. Skipping File and Sheet Checks
Artwork that looks correct on a monitor can still print poorly. Low-resolution images create jagged edges, while thin lines disappear against a busy background. Small text also becomes difficult to read after the design reaches its final label size.
The document should match the sheet layout, including margins, gaps, and label dimensions. A mismatch shifts every design, wastes material, and can place ink outside the adhesive area. Built-in label templates help with alignment, but the file still needs a physical test.
Before the final run, print the layout on plain paper. Place that page behind a sticker sheet and hold both toward a light source. This method reveals drift, incorrect scaling, and clipped edges without using finished stock.
4. Applying Labels Before the Ink Sets
Freshly printed stickers need time for the ink to settle. Handling them immediately can transfer color onto fingers, tools, packaging, or nearby labels. Rubbing the printed surface also creates streaks, especially on coated sheets.
Printed sheets should rest flat in a clean, dry area. The waiting period depends on the printer, ink, and paper surface, so the manufacturer’s instructions should guide the process. A light touch on an unused edge provides a basic check, but the printed area should remain untouched.
The application creates another source of damage. Dust, oil, and moisture prevent the adhesive from bonding evenly. Cleaning the target surface, aligning one edge first, and pressing outward reduces bubbles and crooked placement.
Conclusion
Reliable sticker printing starts with matching the paper to the printer and following the sheet’s handling instructions. The next step is a controlled test: confirm the printable side, select the correct media setting, print the layout on plain paper, and inspect one finished sheet before continuing.
Let the ink settle, then apply each label to a clean surface. This process protects the material, improves consistency, and prevents avoidable reprints.