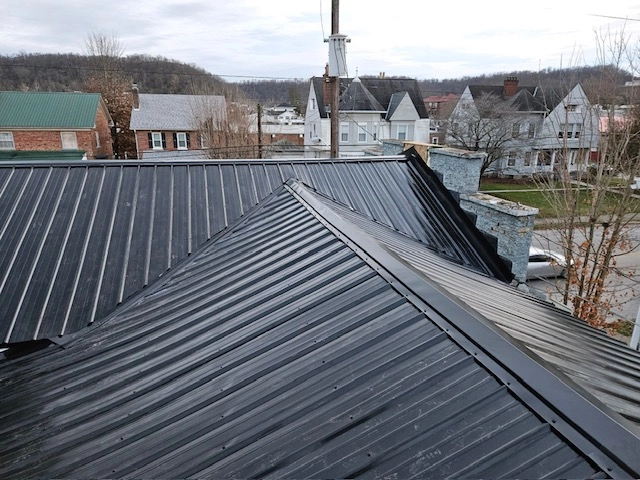
A new roof is one of the biggest projects a property owner will manage. Unlike a routine repair, an installation touches your budget, your tenants, your schedule, and your building’s performance for the next twenty years or more. The work itself may take only a few weeks, but the decisions made beforehand determine how well it turns out.
This guide follows a commercial roof installation in Austin from the first assessment to the final walkthrough, with practical tips for keeping the project on time and on budget.
Start With a Full Roof Assessment
Before anyone talks about materials, the existing roof needs a close look. A thorough assessment usually includes moisture testing to find wet insulation, core samples to show how many layers are already on the building, and a check of the deck for rust, rot, or soft spots.
This answers the first big question: can the new roof go over the old one, or does everything need to come off? Building codes limit how many roof layers are allowed, and sealing wet insulation under a new roof can shorten its life. Ask your contractor to share the findings in writing, with photos.
Let the Building Guide the System Choice
Rather than starting with a product name, start with how the building is used. A few questions narrow the options quickly:
- How often will HVAC technicians and other trades be on the roof?
- Does the building vent grease, oils, or chemicals onto the roof surface?
- How long do you plan to own the property?
- Does the roof have enough slope for metal, or is it truly low-slope?
- Are lower cooling costs or energy code requirements a priority?
Your answers point toward a type of membrane, metal, or coating system, along with a level of insulation. A good contractor will then explain the trade-offs in cost and expected service life. For an overview of the options, see these commercial roofing services.
Do Not Overlook Insulation and Drainage
Two details are easy to miss during planning. The first is insulation. Energy codes often require insulation to be brought up to current levels when a roof is replaced, so confirm the requirement for your building early. Adding insulation during the project is far cheaper than doing it later, and it lowers cooling costs for the life of the roof.
The second is drainage. If water already ponds on your roof, a new membrane alone will not fix it. Tapered insulation can create slope toward the drains, and adding or enlarging drains and scuppers during installation solves the problem at the source.
How the Installation Unfolds
Most projects follow a similar sequence:
- Permits and submittals. The contractor pulls the permit and confirms the product and warranty requirements before work begins.
- Staging and safety setup. Materials are lifted to the roof, and guardrails, warning lines, and protected walkways are put in place.
- Tear-off and deck repair. Old layers are removed in sections, and damaged decking is replaced so that no area is left open overnight.
- Insulation and roofing. New insulation is fastened or adhered, then the membrane or panels are installed and seamed.
- Flashing and details. Curbs, pipes, walls, and edges are flashed. This is where most future leaks start, so it deserves the most care.
- Punch list and walkthrough. You and the crew walk the roof together, note anything that needs fixing, and confirm the site is clean.
Smaller buildings can be finished in a few days, while larger ones may take several weeks, depending on weather.
Budgeting Without Surprises
Commercial roofing bids can look very different, even for the same building. Line them up side by side and check that each covers the same scope: tear-off, insulation thickness, drainage changes, flashing details, permits, and warranty length. A low bid that leaves out insulation or flashing work often returns later as change orders.
Set aside a contingency, often 5 to 10 percent of the project cost, for hidden deck damage. It usually only shows up once the old roof comes off.
Keeping Your Business Running During the Work
Roof work does not have to shut you down. Experienced crews can phase the job, work in sections, and schedule noisy tasks for quieter hours. Tell the team early about busy seasons, sensitive equipment, and tenant needs, and ask who will be your single point of contact.
Austin’s spring storms can arrive with little warning, so also ask how the crew will protect open sections of the roof if rain moves in mid-project.
After the Roof Is Finished
The project is not over when the crew packs up. Before you make the final payment, collect:
- The manufacturer’s warranty, registered in your name
- The contractor’s workmanship warranty
- Product data sheets and details of what was installed
- Photos taken during the installation
- Lien waivers from the contractor and major suppliers
Then schedule your first inspection for about a year out, and keep rooftop foot traffic on walkway pads. Most warranties require regular maintenance, so good records help protect your coverage.
Working With a Local Contractor
A commercial installation goes most smoothly with a team that knows local permitting and Central Texas weather. To see how an experienced team handles projects in the area, visit the commercial roofing company in Austin page.
Final Thoughts
A commercial roof installation is a large project, but it does not have to be a stressful one. Start with a full assessment, choose a system based on how your building is actually used, compare bids line by line, and keep your paperwork in order at the end. With careful planning, your new roof will handle Austin’s heat and storms for years.