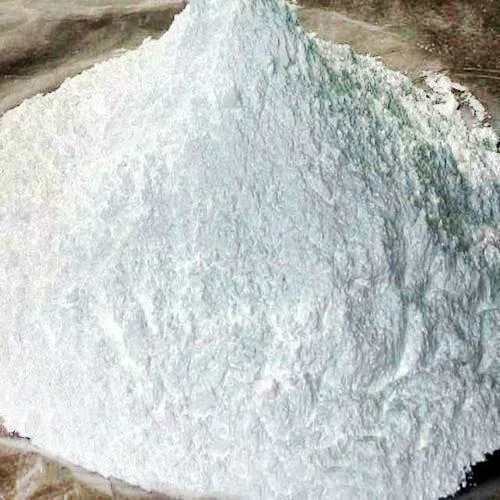
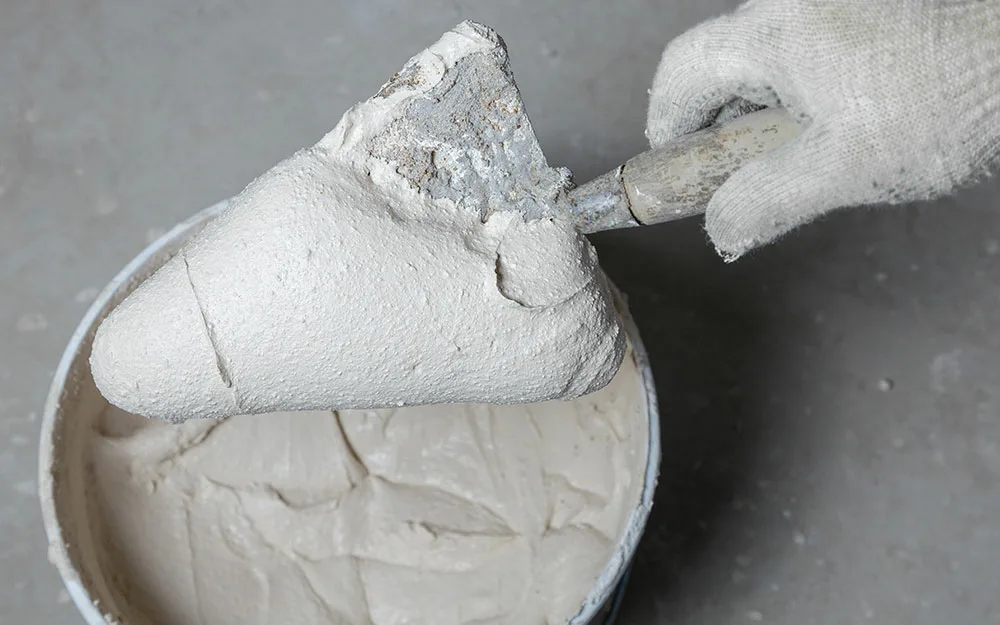
Wall putty is a white cement-based fine powder material applied to walls and ceilings before painting or wallpapering to create a smooth and even surface/ This material serves the purpose of effectively filling cracks, holes, and imperfections. It also enhances paint adhesion, improves aesthetics, provides moisture resistance, and contributes to the durability of wall finishes. It is suitable for both wet and dry walls, as well as interior and exterior surfaces. Its core function is to act as a protective agent for your walls.
Types of wall putty
There are two main types of wall putty available, viz Cement wall putty and Acrylic wall putty. Other than these two types there are specialised wall putty available in the market.
Cement-based Wall Putty:
Cement-based wall putty is a common choice for interior wall applications. It’s composed of a mixture of cement, filler materials, and polymers. Its primary purpose is to fill minor cracks, dents, and surface imperfections on plastered walls. This type of putty is often applied as a thin layer before painting or wallpapering. It helps create a smoother and more even surface, ensuring a better finish for your interior walls.
Advantages;
- Excellent adhesion to substrates.
- Creates a smooth and even surface by filling in imperfections.
- Enhances the quality of paint finishes.
- Provides durability and resistance to wear and tear.
- Often resistant to alkali substances.
- Reduces paint consumption due to low absorption.
- Suitable for both interior and exterior applications.
- Can help prevent or minimize cracks in the wall surface.
- Compatible with various types of paints.
Acrylic-based Wall Putty:
Acrylic-based wall putty is known for its exceptional adhesion, durability, and resistance to water. It contains acrylic resins, pigments, and various additives. This type of putty is versatile and can be used for both interior and exterior walls. It provides a smooth and long-lasting finish, making it a popular choice for projects where durability and weather resistance are essential.
Advantages;
- Ready-to-use water-based solution.
- Offers protection from external elements.
- Provides better alkali resistance compared to some alternatives.
- Creates a smooth finish.
- Suitable for a variety of paint types.
- Cures faster.

Specialised wall putty types;
Gypsum-based Wall Putty:
Gypsum-based wall putty is primarily composed of gypsum powder and additional additives. It is primarily used for interior walls. What sets it apart is its quick setting time and ease of sanding. Gypsum-based putty is excellent for achieving a flawless and polished surface. It’s particularly useful for leveling and repairing walls with minor imperfections.
Polymer-based Wall Putty:
Polymer-based wall putty incorporates polymers that enhance flexibility, adhesion, and water resistance. This type of putty offers excellent protection against moisture and weathering, making it suitable for exterior applications. It ensures the longevity of your wall finish, especially in areas exposed to harsh environmental conditions.
Ready-Mix Wall Putty:
Ready-mix wall putty comes pre-mixed and ready for use. It typically combines various binders, fillers, and additives, saving time and effort during the preparation process. These putties are available in different formulations to cater to specific project requirements, whether it’s for minor repairs or complete wall smoothing.
White Cement Wall Putty:
White cement wall putty is specifically formulated with white cement and fillers. It serves the purpose of preparing a pristine, white surface for painting or decorative finishes on interior walls. It ensures that your chosen paint colors appear vibrant and true to their hue, making it a favoured choice for interior designers and homeowners.
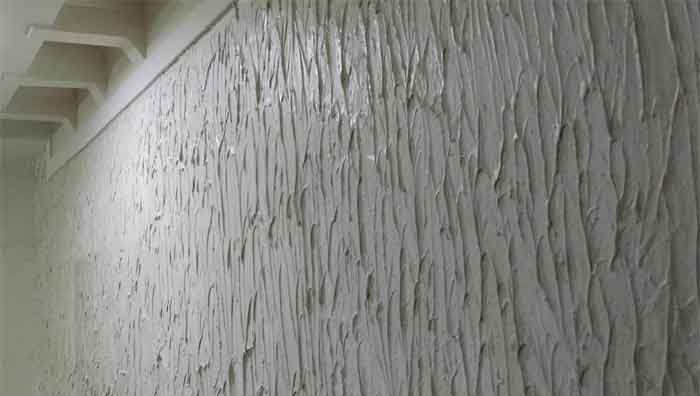
Textured Wall Putty:
Textured wall putty is designed to add artistic and decorative elements to interior walls. It contains additives that allow you to create various textures and patterns. In addition to its decorative role, textured putty can also hide minor imperfections in the wall surface. This type of putty allows for creative and unique wall designs, making it a popular choice for those looking to add visual interest to their living spaces.
The choice of wall putty depends on the specific needs of your project, including the type of surface, interior or exterior application, desired finish, and any special requirements such as moisture resistance or decorative effects.
Application method of wall putty
The method of applying wall putty is relatively straightforward but requires careful attention to detail to achieve a smooth and flawless surface. Here are the steps for applying wall putty:
Materials and Tools Needed:
- Putty knife or trowel
- Sandpaper (optional)
- Primer (if required)
- Paint or wallpaper (for finishing)
Step-by-Step Application:
1. Surface Preparation:
- Ensure the surface is clean, dry, and free from dust, grease, or loose particles. If the surface is not clean, wash it thoroughly and allow it to dry completely.
- Repair any major cracks or holes with appropriate patching materials before applying wall putty. These should be fully dry and smooth before proceeding.
2. Priming (if required):
- In some cases, it’s advisable to apply a primer before applying wall putty, especially on highly porous surfaces. The primer helps improve adhesion and ensures even absorption of the putty.
- Allow the primer to dry according to the manufacturer’s instructions.
3. Mixing Wall Putty:
- Follow the manufacturer’s instructions for mixing the wall putty. Typically, you’ll need to add clean water to the putty powder gradually while stirring to achieve a smooth paste-like consistency. Avoid making the mixture too thin.
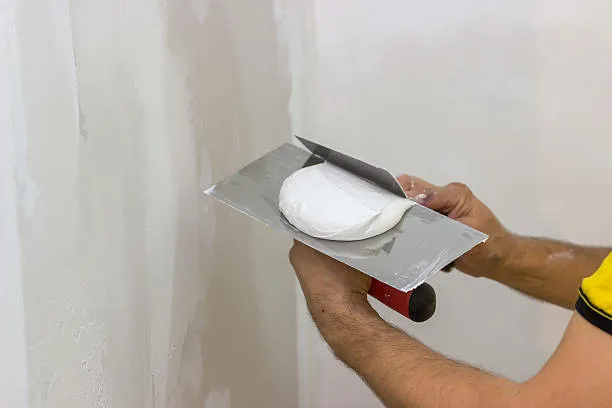
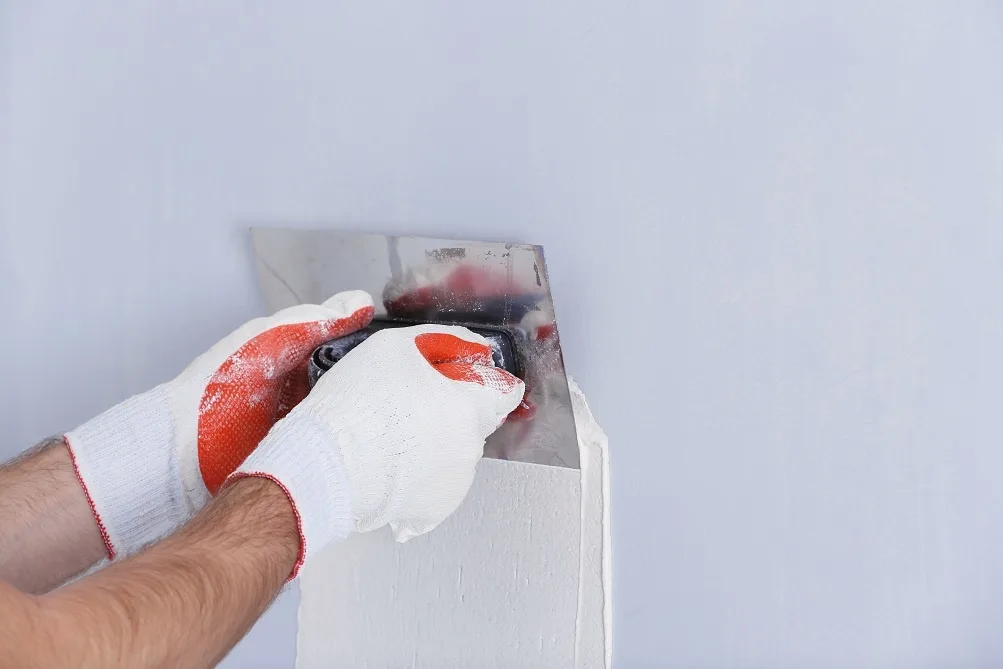
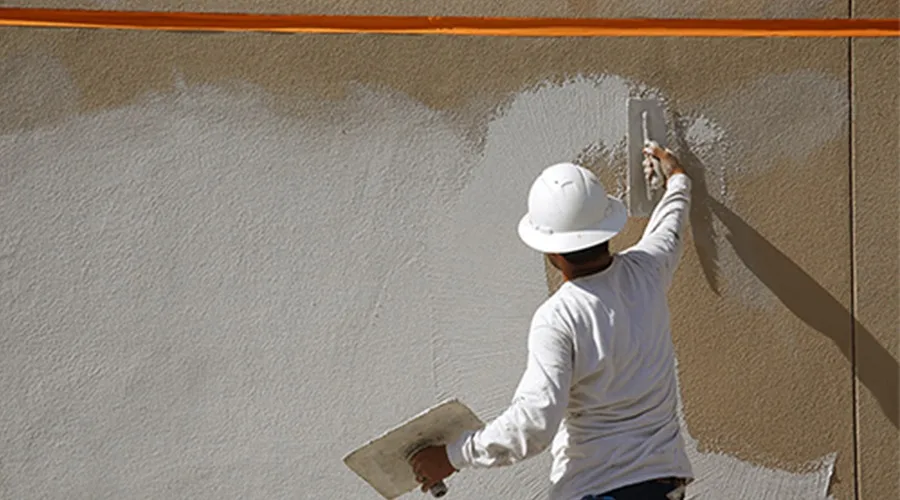
4. Application:
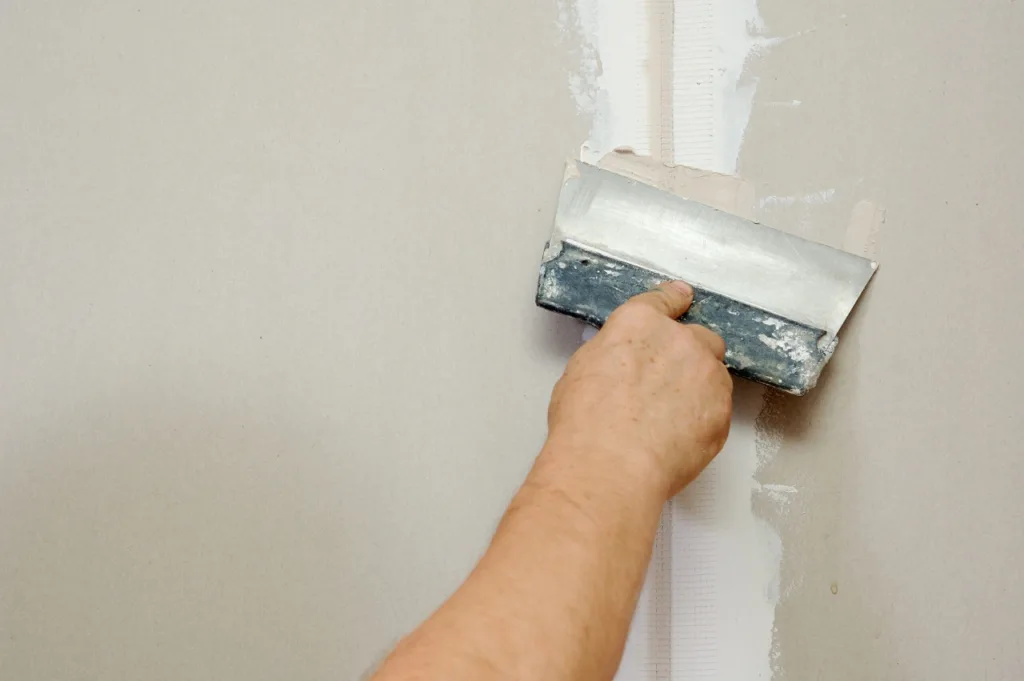
- Begin applying the wall putty with a putty knife or trowel. Start from the top of the wall and work your way down in a smooth, even motion.
- Apply a thin, uniform layer of putty to the surface. The goal is to fill in imperfections, not create a thick layer.
- Use horizontal strokes for horizontal surfaces like walls and ceilings and vertical strokes for vertical surfaces like columns.
- Pay special attention to areas with cracks, holes, or uneven spots, ensuring they are adequately filled.
- Allow the first coat to dry completely. Drying times can vary depending on environmental conditions and the specific putty product used. Refer to the product instructions for guidance.
5. Sanding (if required):
- After the first coat has dried, you may choose to lightly sand the surface with fine-grit sandpaper to remove any rough spots or imperfections. This step helps achieve a smoother finish.
- Dust off any sanding residue and wipe the surface clean.
6. Second Coat (optional):
- Depending on the condition of the wall and the desired level of smoothness, you can apply a second coat of wall putty using the same method as the first coat.
- Allow the second coat to dry completely.
7. Final Inspection:
Inspect the wall surface for any remaining imperfections or unevenness. If needed, touch up those areas with additional putty and allow them to dry.
8. Surface Finish:
- Once you’re satisfied with the smoothness of the wall, you can proceed to paint, apply wallpaper, or add other decorative finishes. Follow the specific instructions for your chosen finish.
Properly applying wall putty is essential for achieving a professional and attractive surface for your chosen finish. Take your time during each step to ensure that the putty is applied evenly and dries thoroughly before proceeding to the next stage of your wall’s transformation.
Applications of wall putty
- Smoothing surfaces by filling imperfections and cracks.
- Preparing walls and ceilings as a basecoat for paint or wallpaper.
- Repairing minor surface damage like dents and holes.
- Sealing joints and seams in drywall installations.
- Providing moisture resistance in high-humidity areas.
- Protecting and weatherproofing exterior walls (external wall putty).
- Creating decorative effects through texturing or stippling.
- Acting as a primer to improve adhesion for paint or wallpaper.
- Tinting for decorative finishes and faux textures on walls.
Conclusion
Wall putty is an indispensable product used for creating smooth, flawless, and long-lasting wall surfaces. From filling cracks and imperfections to enhancing paint adhesion, wall putty plays a crucial role in achieving a high-quality finish. When selecting a wall putty, it’s important to consider factors such as the type of surface, environmental conditions, and the specific requirements of the project. With proper application and maintenance, wall putty can contribute significantly to the aesthetics and longevity of a building.