Floor surface preparation is an important step for installing a new floor, repairing existing floors and cleaning old floors. It involves cleaning the surface thoroughly to ensure a strong bond between the substrate (the underlying layer) and the subsequent flooring layer. To achieve this, the substrate must be free from any debris, cracks, or holes. Any cracks or holes should be filled properly using a suitable crack filling compound or epoxy mortars. If the floor is damp, it needs to be treated with a moisture barrier to prevent moisture-related issues. In the case of existing floors, any coatings or glossy finishes should be removed to create a clean and even surface for the new flooring material.
What happens when floor preparation is not adequately done?
Incorrect or inadequate surface floor preparation can have several negative impacts on the overall quality and performance of the flooring system. Here are some potential consequences of wrong surface floor preparation:
1. Poor Adhesion: Inadequate surface preparation can lead to poor adhesion of coatings, adhesives, or floor finishes. Without proper adhesion, these materials may not bond effectively to the substrate, resulting in premature failure, peeling, or delamination.
2. Coating Failure: When coatings are applied to improperly prepared surfaces, they may not properly penetrate or adhere to the substrate. This can lead to issues such as blistering, bubbling, or flaking of the coating over time, compromising its durability and aesthetic appearance.
3. Uneven Surface: Insufficient surface preparation can result in an uneven or rough surface. This can be problematic for various flooring systems, especially those that require a smooth and level base for installation. Uneven surfaces can lead to poor aesthetics, difficulties in cleaning, and potentially cause tripping hazards.
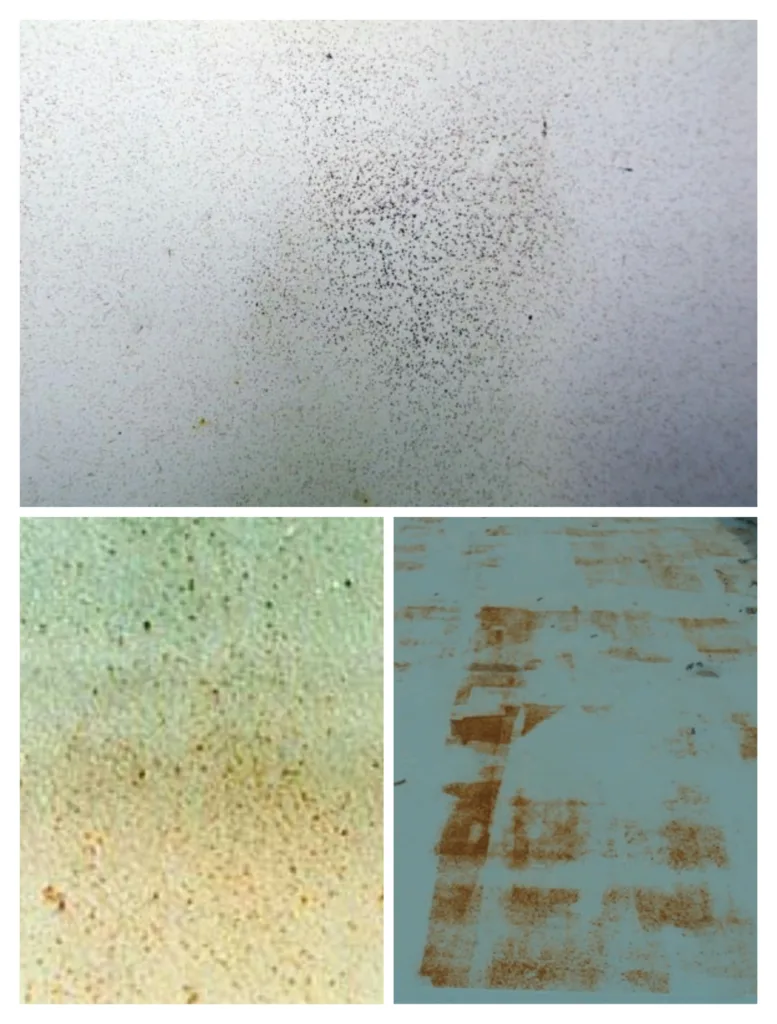
4. Surface Contaminants: Without proper cleaning and removal of contaminants, surface preparation can leave behind dirt, dust, oils, or other residues. These contaminants can interfere with the adhesion of coatings or adhesives, affecting the overall quality and longevity of the flooring system.
5. Reduced Durability: Inadequate surface preparation can compromise the durability of the flooring system. Without proper preparation, the flooring may be more prone to wear, damage, or deterioration from foot traffic, chemical exposure, or environmental factors.
6. Increased Maintenance: Improperly prepared surfaces may require more frequent maintenance and repairs. This can result in higher maintenance costs, increased downtime, and inconvenience to the occupants or users of the space.
7. Wasted Time and Resources: If surface preparation is not done correctly the first time, it may necessitate additional corrective measures, such as stripping coatings, reapplying adhesives, or redoing the entire flooring system. This can result in wasted time, resources, and additional expenses.
Advantages of right floor surface preparation
1. Enhanced Adhesion: By preparing the floor surface correctly, you ensure proper adhesion between the flooring material and the substrate. This results in a more secure and long-lasting bond, minimizing the risk of loose or detached flooring over time.
2. Compatibility with Flooring Materials: Different types of flooring materials have specific requirements for the underlying surface. Surface preparation ensures that the floor meets those requirements, such as cleanliness, smoothness, or moisture content, as recommended by the manufacturer.
3. Smooth and Level Surface: Surface preparation helps to create a smooth and level surface for the new flooring. An uneven or bumpy substrate can affect the appearance and functionality of the flooring, causing issues like tripping hazards, poor aesthetics, or difficulties in furniture placement.
4. Increased Durability: Adequate surface preparation helps address existing issues, such as cracks, unevenness, or moisture problems. By addressing these concerns, the flooring is less susceptible to damage, wear, and premature failure, ultimately increasing its durability and lifespan.
5. Better Moisture Management: Moisture-related issues, such as excessive moisture or inadequate moisture barriers, can cause significant damage to flooring materials. Proper surface preparation includes moisture testing and appropriate moisture mitigation techniques, helping to manage and minimize moisture-related problems, such as warping, buckling, or mold growth.
6. Enhanced Performance: When the floor surface is properly prepared, the flooring material can perform optimally. It can withstand daily wear and tear, resist stains, and maintain its structural integrity. This contributes to a flooring system that performs well underfoot and meets the functional requirements of the space.
7. Cost Savings: Investing in proper floor surface preparation upfront can save costs in the long run. By addressing existing issues and ensuring a solid foundation, you reduce the need for future repairs or replacements, minimizing expenses associated with flooring failures or premature wear.
Different methods of surface preparation
1. Sweeping and Vacuuming: This basic method involves removing loose debris, dust, and dirt from the floor surface using brooms, brushes, or vacuum cleaners.
2. Washing and Scrubbing: Floors can be washed and scrubbed with water and detergent to remove dirt, stains, and light coatings. This method is particularly useful for non-porous surfaces like vinyl or linoleum.
3. Stripping: Stripping is used to remove old floor finishes or coatings. It typically involves applying a chemical stripper to break down the existing finish, followed by scraping or scrubbing to remove it from the surface.
4. Sanding: Sanding is commonly used for wooden floors. It involves using sandpaper or a floor sander to remove the top layer of wood, creating a smooth and even surface.
5. Grinding: Grinding is a method primarily used for concrete floors. It utilizes grinding machines equipped with diamond abrasives to remove irregularities, coatings, adhesives, or surface imperfections. It can also create a suitable profile for new coatings or finishes.
6. Shot Blasting: Shot blasting is a mechanical method used to clean and prepare concrete surfaces. It involves propelling small steel balls at high speed onto the floor, which removes surface contaminants, laitance, and provides a textured profile.
7. Scarifying: Scarifying is a process that uses rotating blades or cutters to remove thick coatings, rubber deposits, or heavy surface imperfections. It is commonly used on concrete or asphalt surfaces.
8. Shot Peening: Shot peening is a process in which small metal shots are propelled onto the floor surface at high speed. This method is used to increase the floor’s resistance to fatigue, improve its mechanical properties, and enhance its durability.
9. Sanding: Sanding is a common method used for wooden floors. It involves using sandpaper or abrasive pads to remove the existing finish or roughen the surface, promoting adhesion of the new finish or coating.
10. Acid Etching: Acid etching is used to prepare concrete surfaces by applying an acid solution to remove surface contaminants and open up the pores of the concrete. This enhances adhesion for coatings or sealers.
11. Self-Leveling Underlayment: Self-leveling underlayment is a technique used to create a flat and level surface on uneven floors. A self-leveling compound is poured onto the floor and spreads out to fill low spots, creating a smooth and even substrate.
12. Moisture Barrier Installation: In cases where moisture is a concern, installing a moisture barrier is part of the surface preparation process. A moisture barrier, such as a plastic sheet or moisture-resistant underlayment, helps prevent moisture from reaching the flooring material.

How to select the right method for floor surface preparation?
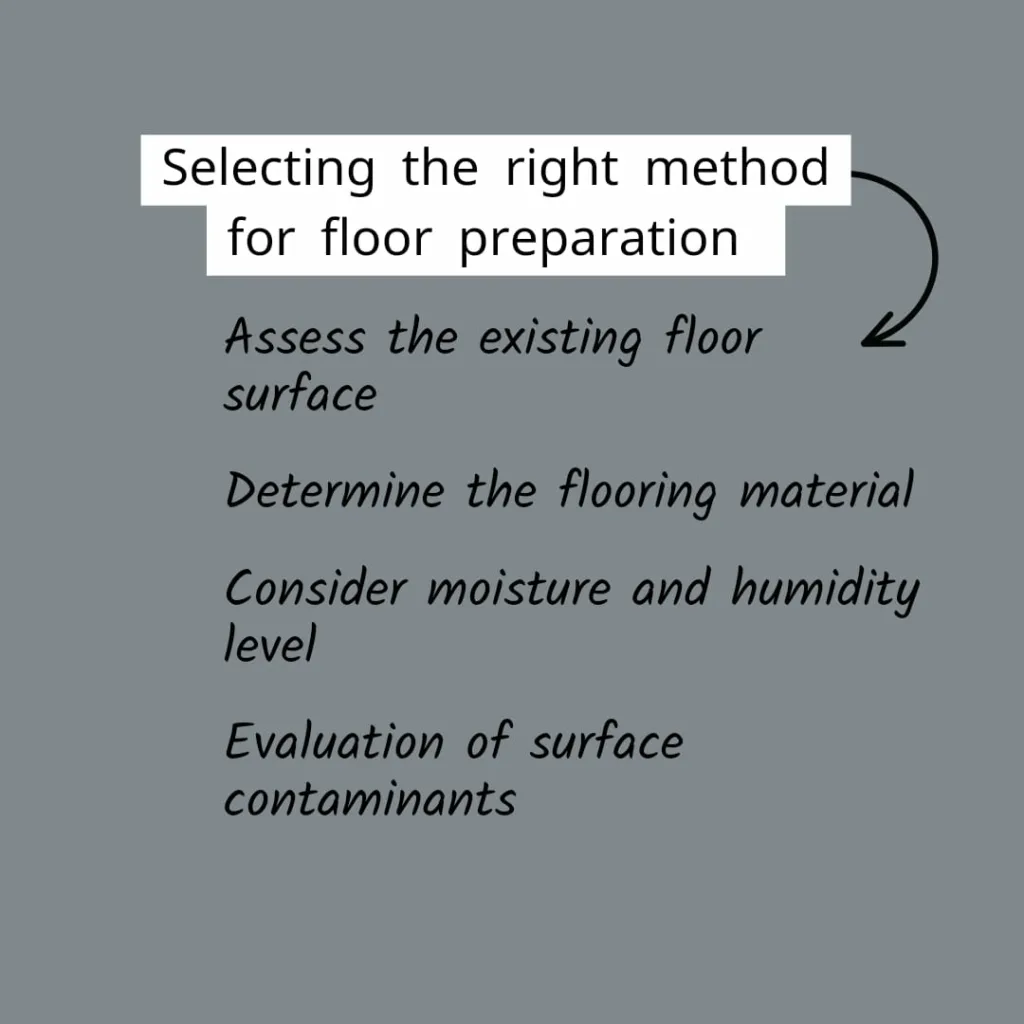
Choosing the right floor surface preparation methods depends on several factors, including the type of flooring material, the condition of the existing floor, and the desired outcome. Here are some steps to help you make the right choice:
1. Assess the existing floor: Begin by evaluating the condition of the current floor surface. Determine if there are any cracks, stains, or uneven areas. This assessment will help you identify the necessary preparation methods.
2. Determine the flooring material: Consider the type of flooring you plan to install or apply. Different materials, such as hardwood, tile, vinyl, or carpet, may require specific surface preparation techniques.
3. Consider moisture and humidity levels: Moisture and humidity can significantly impact the performance of certain flooring materials. Evaluate the moisture content of the existing floor and the surrounding environment. If moisture is a concern, you may need to employ moisture mitigation techniques like moisture barriers or primers.
4. Evaluate surface contaminants: Determine if there are any contaminants on the floor surface, such as grease, oil, adhesives, or old coatings. Depending on the severity and type of contaminants, you may need to clean, degrease, or remove them using suitable methods.
Applications of floor surface preparation methods
The application of floor surface preparation methods depends on the specific requirements of the flooring project and the condition of the existing floor. Here are some common scenarios where different surface preparation methods are applied:
1. New Floor Installation: When installing a new floor, surface preparation methods are used to create a suitable substrate for the flooring material. This may include cleaning the floor to remove debris, dust, and contaminants, as well as leveling the surface if there are any uneven areas or high/low spots.
2. Floor Restoration: In cases where an existing floor is worn, damaged, or in need of refurbishment, surface preparation is crucial for restoration. This may involve removing old coatings or finishes through methods like grinding, sanding, or stripping. Patching or repairing any cracks, holes, or damaged areas is essential.
3. Coating or Refinishing Application: Surface preparation is essential before applying coatings, refinishing products, or polish to the floor. This may include cleaning the floor to remove dirt, oils, or previous finishes. Grinding or sanding may be used to create a roughened surface for better adhesion.
4. Polishing or Honing: When seeking to achieve a smooth, glossy, or honed finish on surfaces like natural stone or concrete, surface preparation is critical. This typically involves grinding the surface with progressively finer abrasive pads or diamond tools to achieve the desired level of smoothness and shine.
5. Moisture Mitigation: In cases where moisture is a concern, surface preparation methods are used to address the issue. Moisture testing is conducted to assess the moisture content of the floor. Moisture barriers, such as moisture-resistant underlayment’s or membranes, may be installed to prevent moisture from reaching the flooring material.
Conclusion
Proper floor surface preparation is a critical factor in achieving successful flooring installations. It ensures optimal adhesion, enhances durability, improves aesthetics, promotes performance, and prevents issues that can lead to costly repairs or replacements. By investing time and effort in thorough surface preparation, professionals can lay the foundation for long-lasting, visually appealing, and high-performing flooring syste